So far in our D.I.Y. series, we’ve hung things on walls, patched the holes we’ve made, and fixed squeaky floors. It’s time to have a little fun. This month, we’ll bring some old furniture back to life.
You probably have a piece of furniture that’s in need of a little T.L.C. — a family heirloom, or a favorite table that’s looking a little battered. The desk I’m restoring here was a curb rescue, and it really was in poor looks when I found it — all the worse after spending a night in the rain. But as soon as I touched it I could tell it was wonderfully well made, and I loved its simple lines and balanced proportions.
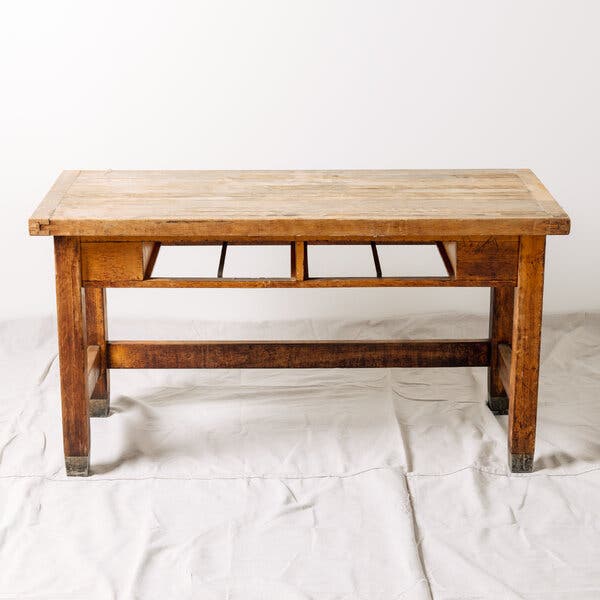
The whole desk needed attention, with adhesive vinyl covering the battered top, scars and paint drips on the framing, and tarnished hardware.Credit…Clark Hodgin for The New York Times
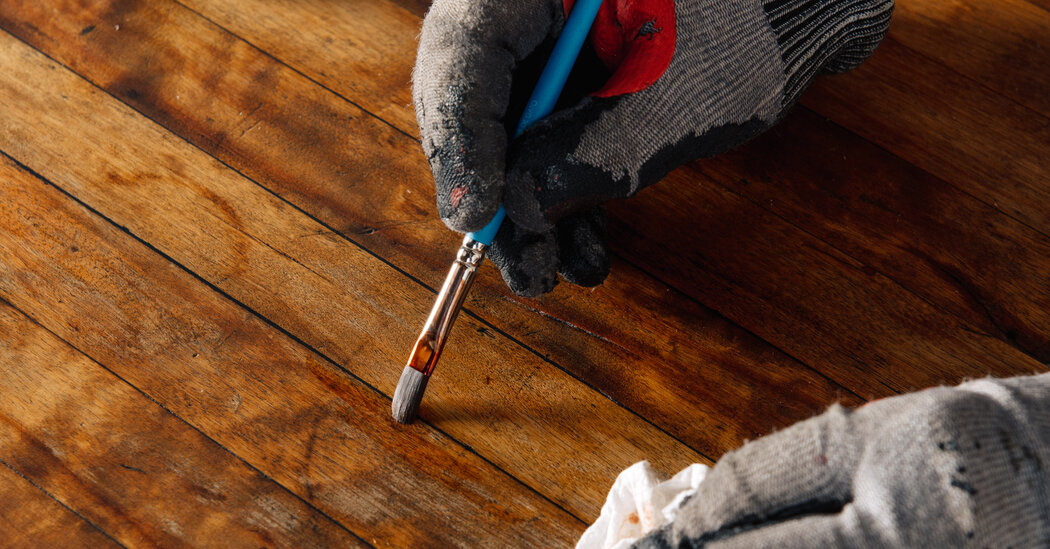
To revive it, I had to go through all four steps of a complete furniture restoration: clean, repair, recolor and refinish. And there’s no getting around it: It took some time and patience. But it didn’t take any particular skill or specialized tools. I’m confident you can do it. And you can break up the work to fit your schedule.
The good news is, few restorations require nearly so much effort. Most need nothing more than a thorough wipe-down, a few touch-ups with stain to conceal minor damage, and a bit of wax to bring back the original luster.
In fact, if there’s one lesson to keep top of mind during any restoration project, it’s that going too far is the fatal mistake. Old furniture is beautiful because its shows its age. Tabletops fade to gold in the sun. Chair arms darken where hands have touched them. My desk was originally a uniform amber tone; its rich patina came from decades of service in New York classrooms.